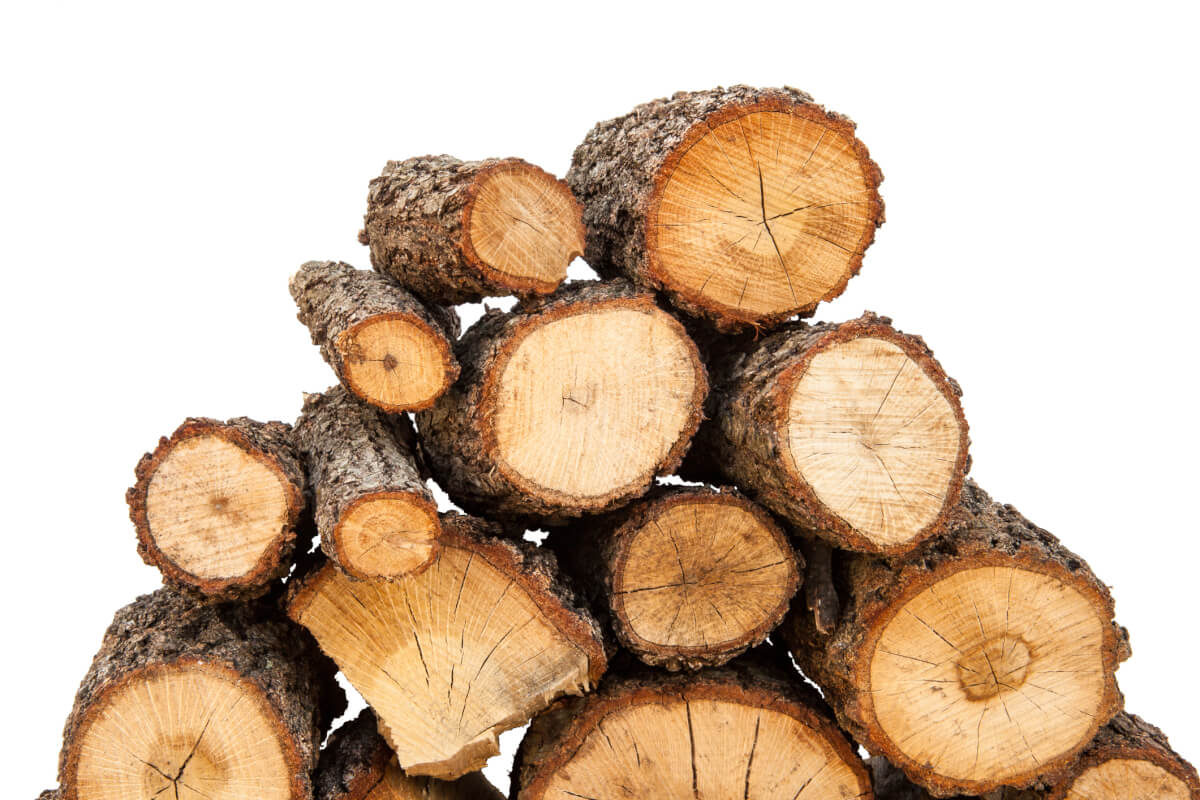
The Canadian candle, the Swedish torch… call it whatever you want, but the inventive fire enclosure more popularly known as the Finnish log stove is beloved by many campers and outdoorsmen no matter the name.
Whether at camp or in a survival situation, this is better than the usual campfire since the flame doesn’t touch the ground, allowing for a fire in snowy, swampy or rainy conditions. The Finnish log stove also gives off a more focused flame, and uses wood more efficiently as it’s from a single tree stump or log. The best part? Its flat top provides a useful cooking or heating surface for skillets, kettles or Dutch ovens.
To craft this ingenious heat source, follow these steps:
Step 1. Pick the right wood
Always choose a dead standing tree, felled dead tree or dead tree stump about 8 to 10 inches in diameter. Before you cut down a dead tree, check first to make sure it isn’t hollowed out by tree rot. If the tree is hollow or is home to wildlife, move on to another dead tree. Unless it’s an emergency situation, never cut down a live tree because they make poor firewood due to their still-high moisture content.
Step 2. Have the right tools
A chainsaw is the ideal tool for making a Finnish log stove, but a handsaw or an axe and a cutting wedge can suffice.
Step 3. Cut it to the right size
Once you’ve found the right tree, cut a log thick and long enough to provide a reasonable fuel supply and be of a sufficient height above ground.
It should be about the same length as your leg from the top of your knee to the ground.
Step 4. Slice it up
With your cutting tool, cut a cross onto the top of the stump that goes about two-thirds of the way down the length of the wood. If the log or stump is wider, make more cuts such that it looks like a pie. Take care not to cut all the way through. Alternatively, if you already have four quarters of a log, you can stand them up and jam them onto the ground so they stand solidly on their own. Ensure that these “quarter logs” are huddled just close enough to form a cross on top to create an even, flat surface for heating your pot or pan.


(freshoffthegrid.com).
Step 5. Stuff it
Collect flammable material in your immediate surroundings such as strips of bark, wood shavings, dry twigs and tree resin. Stuff these into the crevices of the log stove.

Step 6. Start the fire
Ignite the material you’ve jammed into the crevices. The fire should burn for approximately 2-3 hours.
Step 7. Get cookin’
After getting the fire going, place your food in your Dutch oven or cast iron skillet. While wearing protective gloves, set the skillet or oven on the flat surface of the log, taking care not to get too close to the flame. If you don’t have cooking equipment, skewer what you can on carved sticks and hold them close to the fire. Watch the food as it cooks to avoid burning it to a crisp.


