GET OFF THE GROUND AND INTO COMFORT WITH THESE DIY BEDS IN WILDERNESS
If the ground is covered in snow or very damp—get up. Quite simply and most likely the first bushcraft-style bed most of us make out of the gate is a raised log bed. I’d recommend a sturdy saw and a pair of leather work gloves for this project.
Once your campsite has been selected, saw yourself two thick logs about thigh-thickness or more. These serve as the support bars, which will run perpendicular to your body. Saw about six long poles that are bicep to calf thick, roughly six feet long.
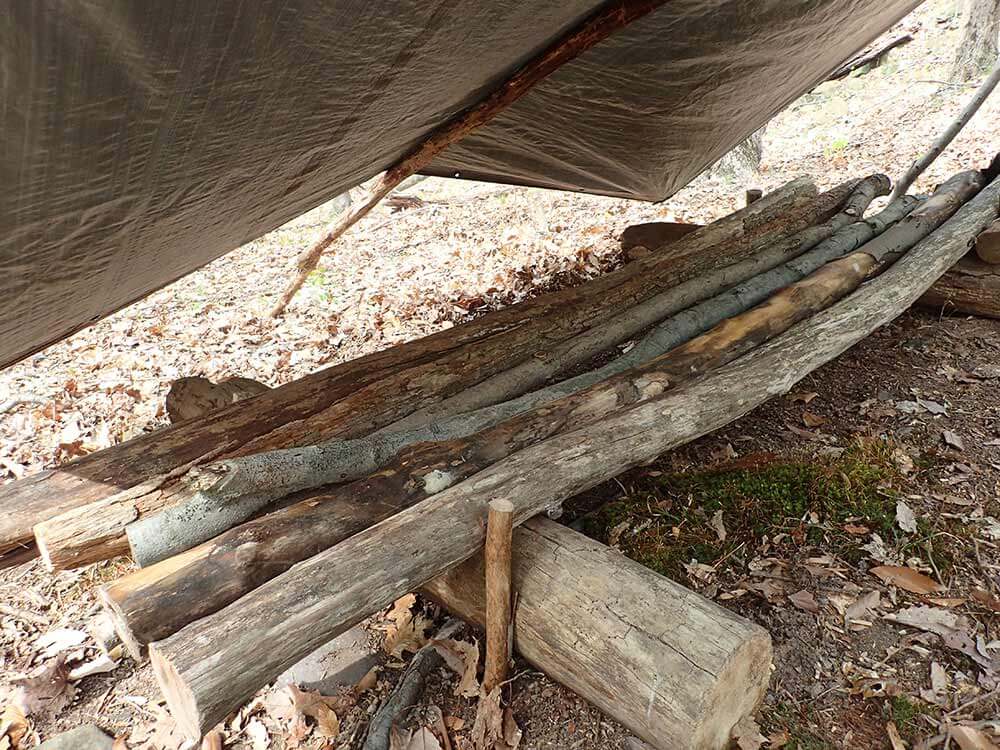
RAISED LOG BED
Place the bed poles on your two initial support logs (parallel with your body) with the two thickest poles on the outside (left/right). This will help to prevent you from rolling off the bed. These two thicker poles on the outside can be lashed to the bottom support log or pegged with long stakes in the four corners above where the support log meets the outside bed poles. This is a sturdy bed with no spring, so a pad may be needed for comfort.
The bed alone won’t block wind or provide radiant heat. A fire stretched out lengthwise near where you will be sleeping will provide enough warmth to get through the night. The same long fire you sleep near at night in the wilderness also allows for a larger cookfire. Put the long fire one good step away from you. This is one of the most comfortable night’s sleep you can have out of simple natural materials using minimal tools.
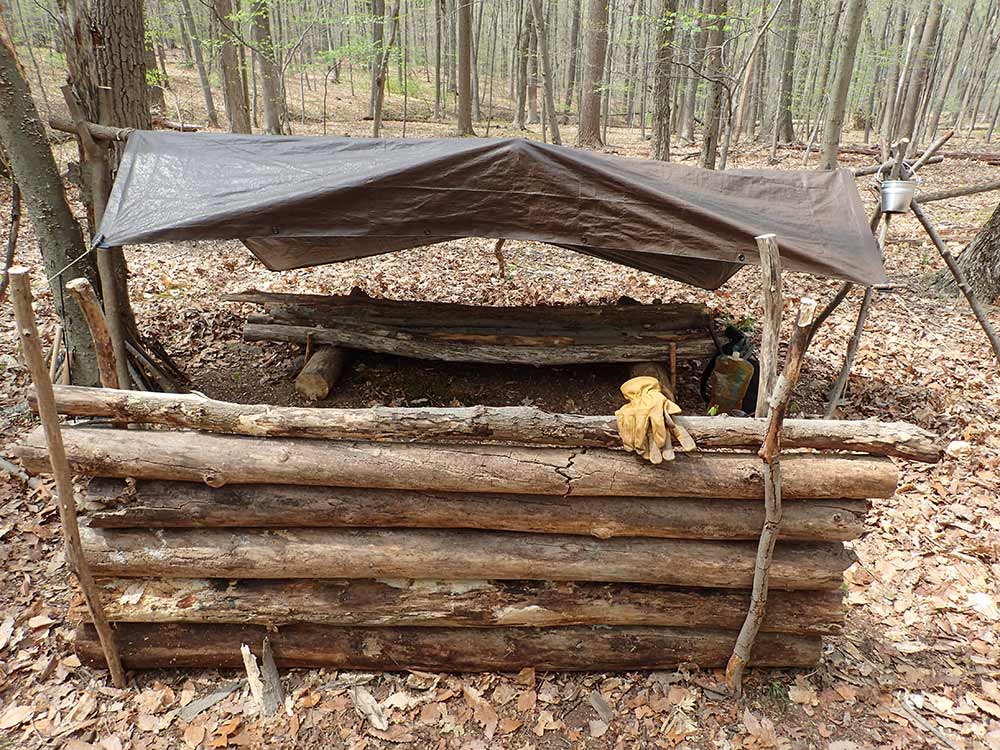
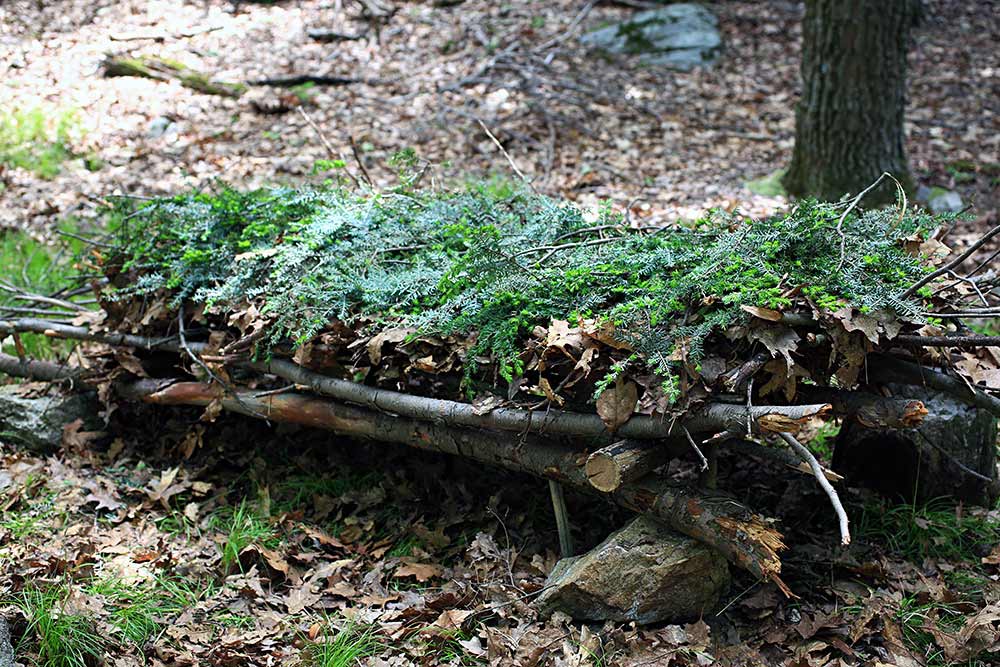
RAISED HOLLOW-CORE BED
Making a raised bed can be a simple affair, even with just a medium-sized saw, small hatchet, or hawk. To make this type of bed, start with locating two thigh-thick logs about shoulder length for the head and foot of the bed. Lay them down roughly six feet apart, parallel to one another.
Next, locate two wrist-thick poles about six feet long and lay them on the thicker logs, about shoulder width apart. At this point, you’ve made a rectangular-shaped bed frame.
Duplicate the process with two more wrist-thick support poles, placing them on top of the initial six-foot poles, and add one more pair of six-foot poles (all perpendicular). Position them under the neck and knee area—this is important for optimum comfort.
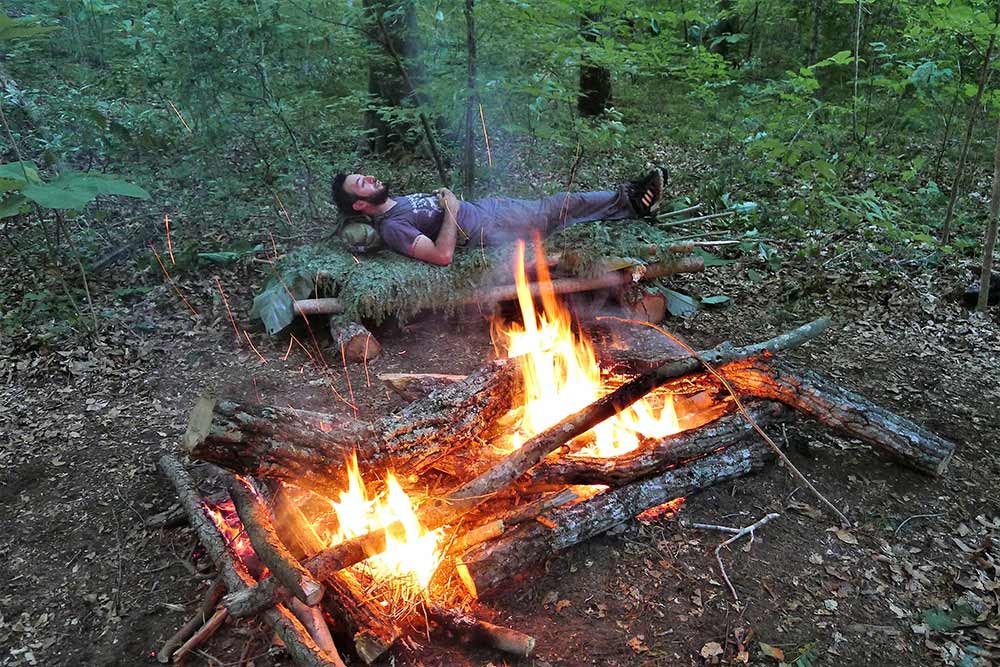
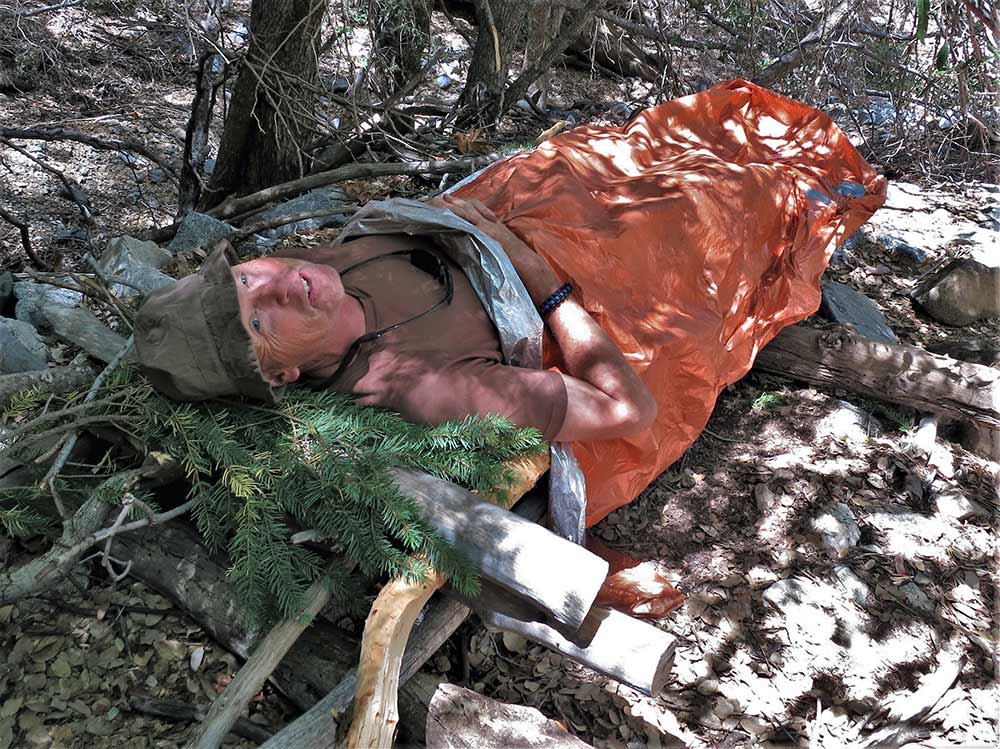
Make a simple lashing at the four places where the last wrist-thick logs meet the wrist-thick support poles (at the X’s). Now fill the bed with six-foot or longer thin branches until there is a thick layer completely filling in the bed (long ways). Keep the branches no thicker than finger thickness; this is the box spring and must stay springy.
The last step is to add a layer of spruce boughs, hemlock, moss, or large green leafy material to cover up all the dry sticks. Add this layer starting at the foot of the bed up to the head, and lay them diagonally. Combine this bed with a long fire, and you will be roughing it no more!
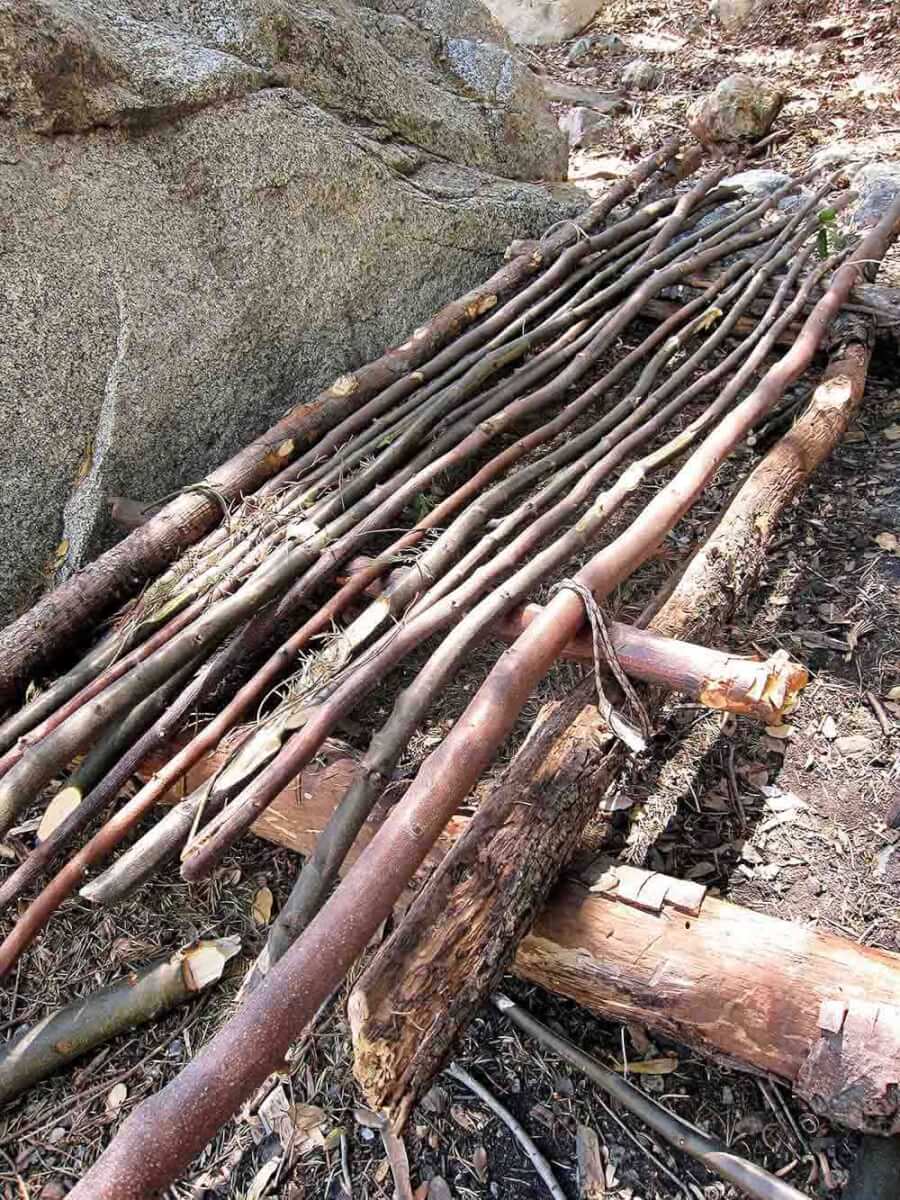
JUNGLE BED
Not many places offer the convenience of a quick, easy cave shelter or hollowed-out tree in the jungle. While hunkering down under trees with large leafy branches is not a problem, bugs are. I am mainly speaking of the king of the jungle—the mighty ant. The mighty ant and the millions of creepy crawlers nearby can make a peaceful night’s sleep nearly impossible.
“The dangers of constructing shelters… ranreuge from wasps, hornets, bees, snakes — anything that may occupy the area you wish to make your new home.”
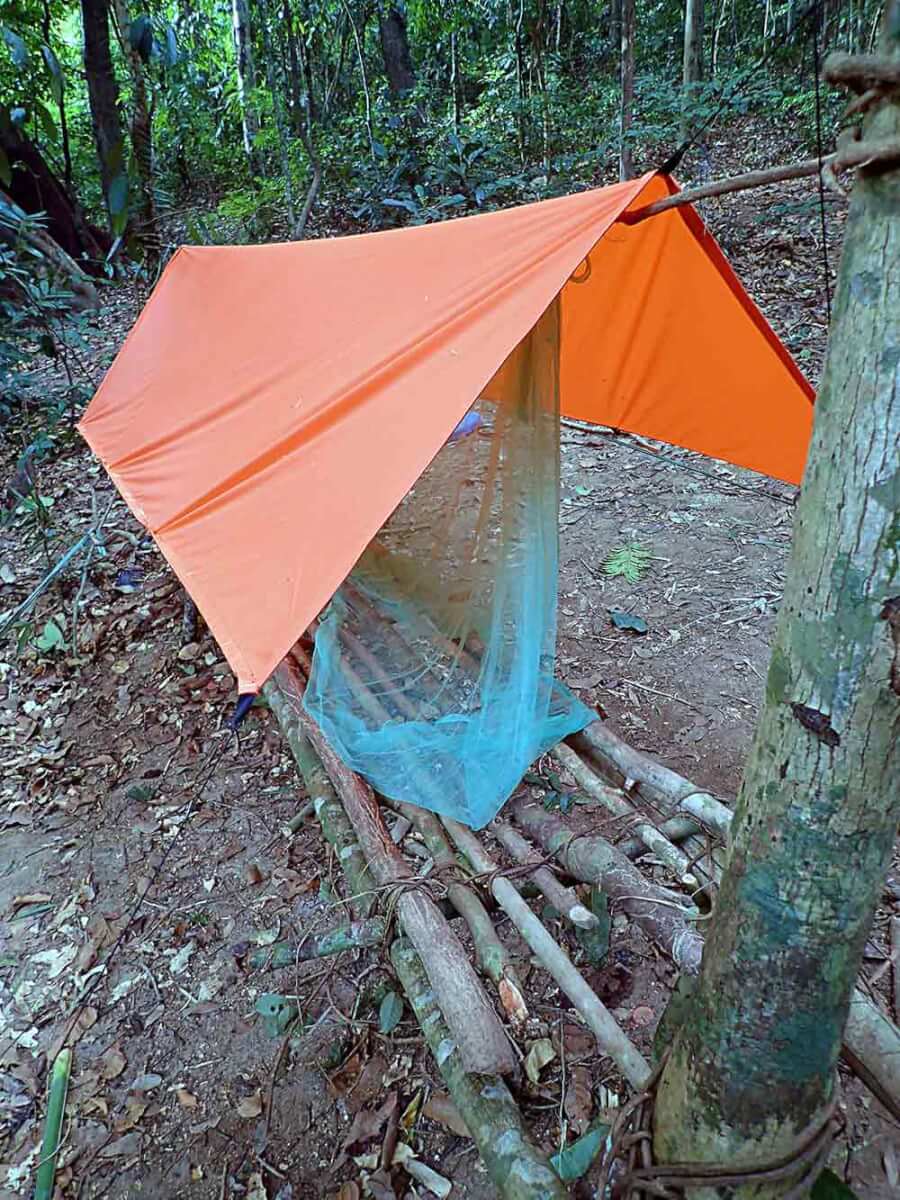
A shelter may arguably be the most critical priority in a jungle environment. Without a hammock, one must build a swamp bed. In the jungle, there is an abundance of material that can be used to construct a raised bed.
Beneath the jungle, canopy night falls quickly, and it is vital to start building a bed early. I have spent quite a few nights in the jungle myself, sleeping up off the forest floor away from ants, insects, and the dreaded caiman is a priority.
LIFE IN JUNGLE
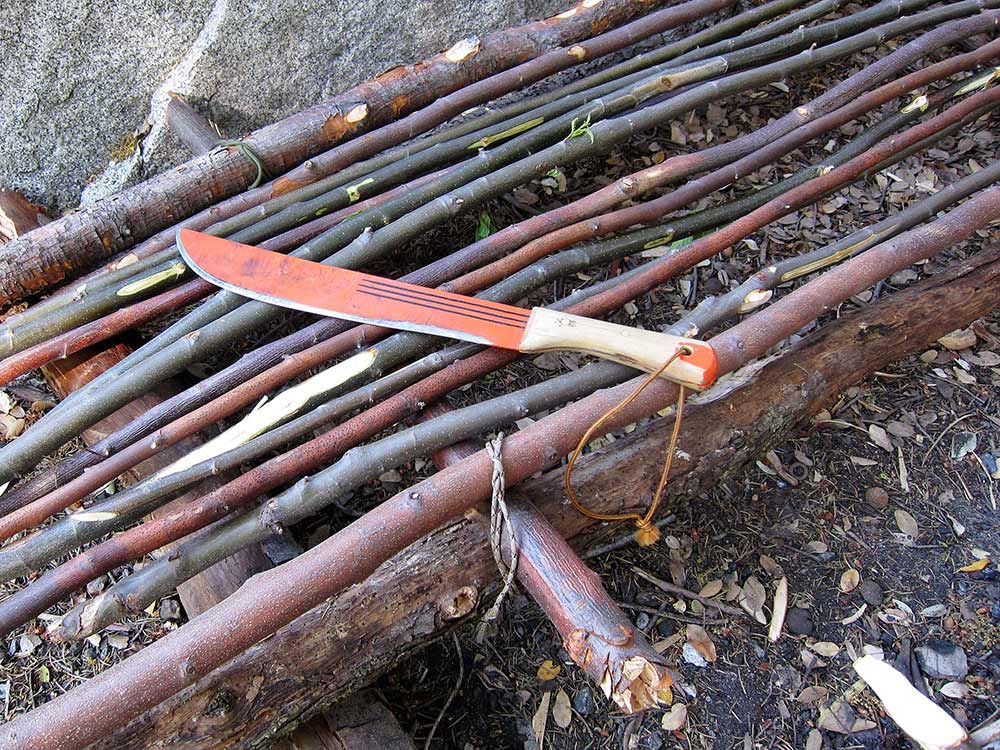
Life in the jungle without a machete is pretty miserable, to say the least. A swamp bed can be constructed if you happen to be camping or stranded in the jungle with a machete. This can take anywhere from 1-3 hours to build safely and correctly. You will need 4 Y-shaped tree pieces for the foundation. Stick them in the ground about waist high and arrange them in 4 corners like bedposts making sure to space them a little wider than the width of your shoulders.
Do not use dry, brittle wood as it can crack or break when supporting your weight. The same trees can be used to create horizontal support poles. Next, cut two support poles which will rest directly on the Y-shaped posts, one for the head end and one for the foot end. These serve as the support bars for the longer poles, which will run parallel to your body.
The last step in constructing the framework is to cut approximately six longer poles, usually about six feet long (depending on how tall you are). Lay them across the two support bars from head to foot. Except for the four Y-shaped posts, wrist-thick saplings are all that is needed to support your weight. Use palm branches and any broad leaves as your mattress. This is your bed!
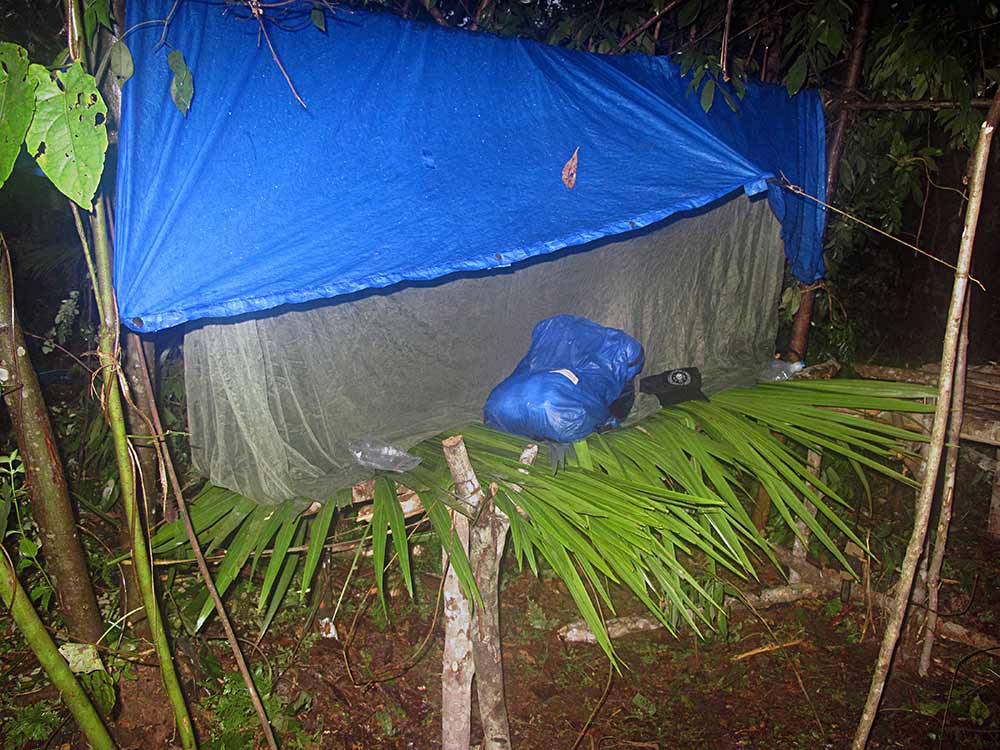
Finally, lash a long, thin stick overhead from one end of the bed to the other, which will support the waterproof material you will need to place over you. Palm fronds will serve well as your overhead protection against the rain. They must be woven together and layered to be effective. A tarp would be the easiest way to waterproof this type of shelter.
The dangers of constructing shelters in the tropics range from wasps, hornets, bees, snakes —anything that may occupy the area you wish to make your new home. I have made this mistake chopping into a small sapling for shelter material without first looking up and was showered with fire ants from a nest above.
I wasn’t the only one that week, but it only takes one incident to make you aware of this danger. The same is true with snakes in the trees above. Always look up and shake the tree before attempting to cut it down.
SLEEP TIGHT
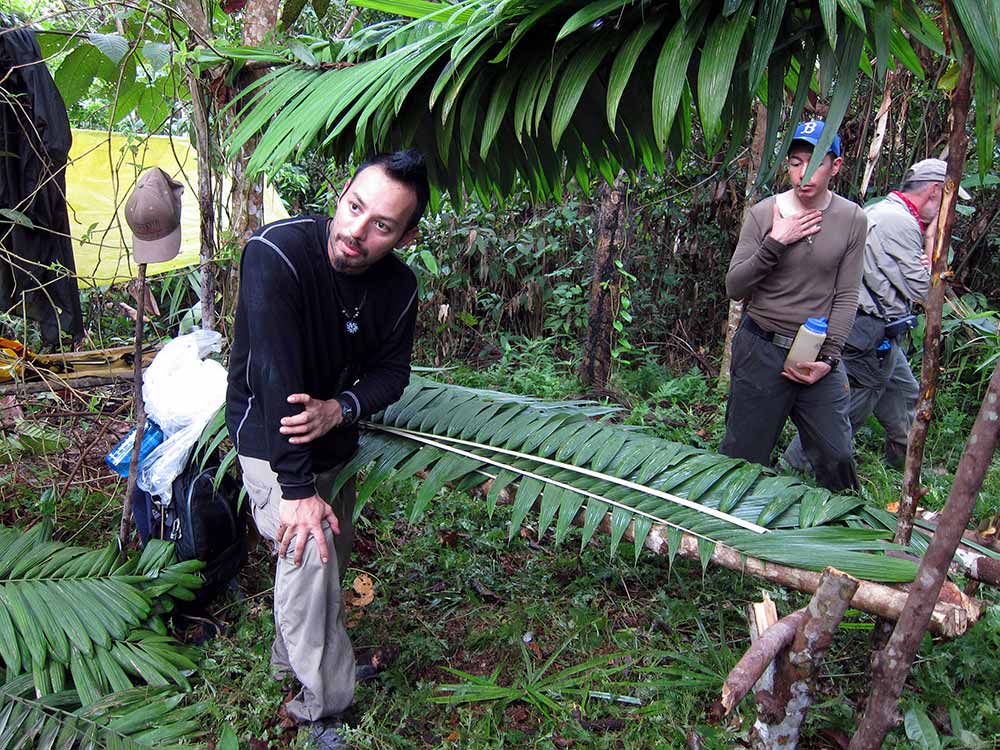
If you conclude that it is time to build a raised bed, you must consider the time, effort, and availability of tools and materials needed to construct it properly. Survival expert John “Lofty” Wiseman teaches when constructing any part of a shelter, it is crucial to build it right the first time. What seems like a shortcut may ultimately take more time in the long run, so it is important to do it right the first time. Your life may depend on it!
ANOTHER WAY TO DO IT
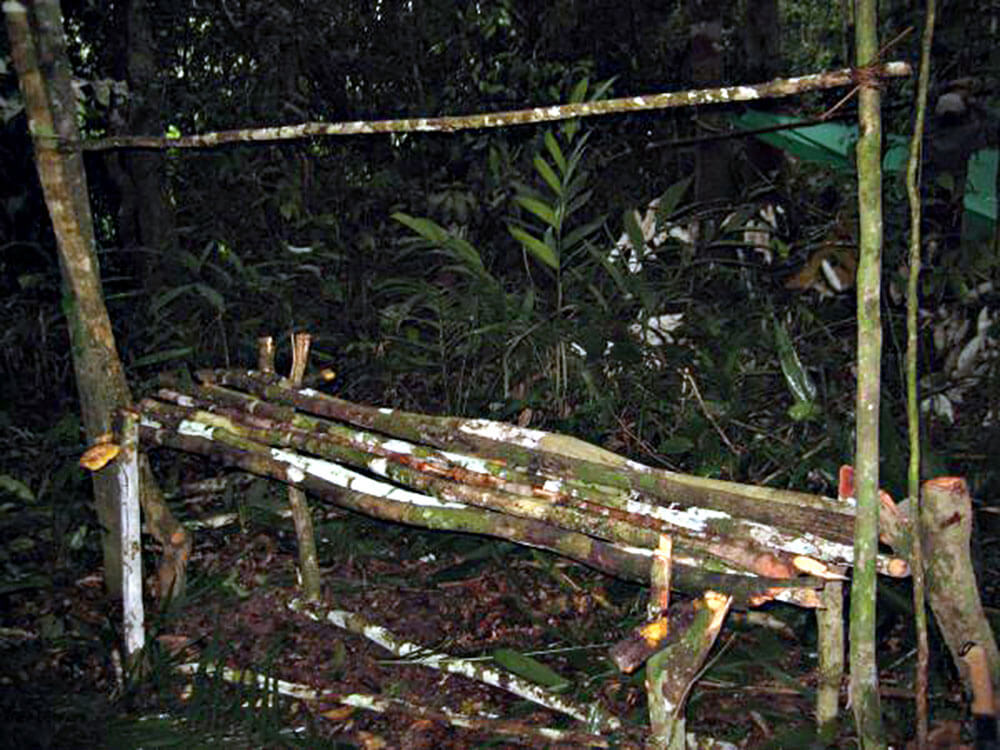
Dave Canterbury of Self Reliance Outfitters and the Pathfinder School has another way to make a raised bed without cordage. Watch his YouTube video to see how it’s done.
BUILD IT
A version of this article first appeared in the May 2022 issue of American Outdoor Guide Boundless.

